


Screen windows often get damaged from wear and tear and the like. However, it is not always necessary to replace the entire screen or window frame. It is fairly easy to put a new window screen on your own without enlisting the help of a professional.
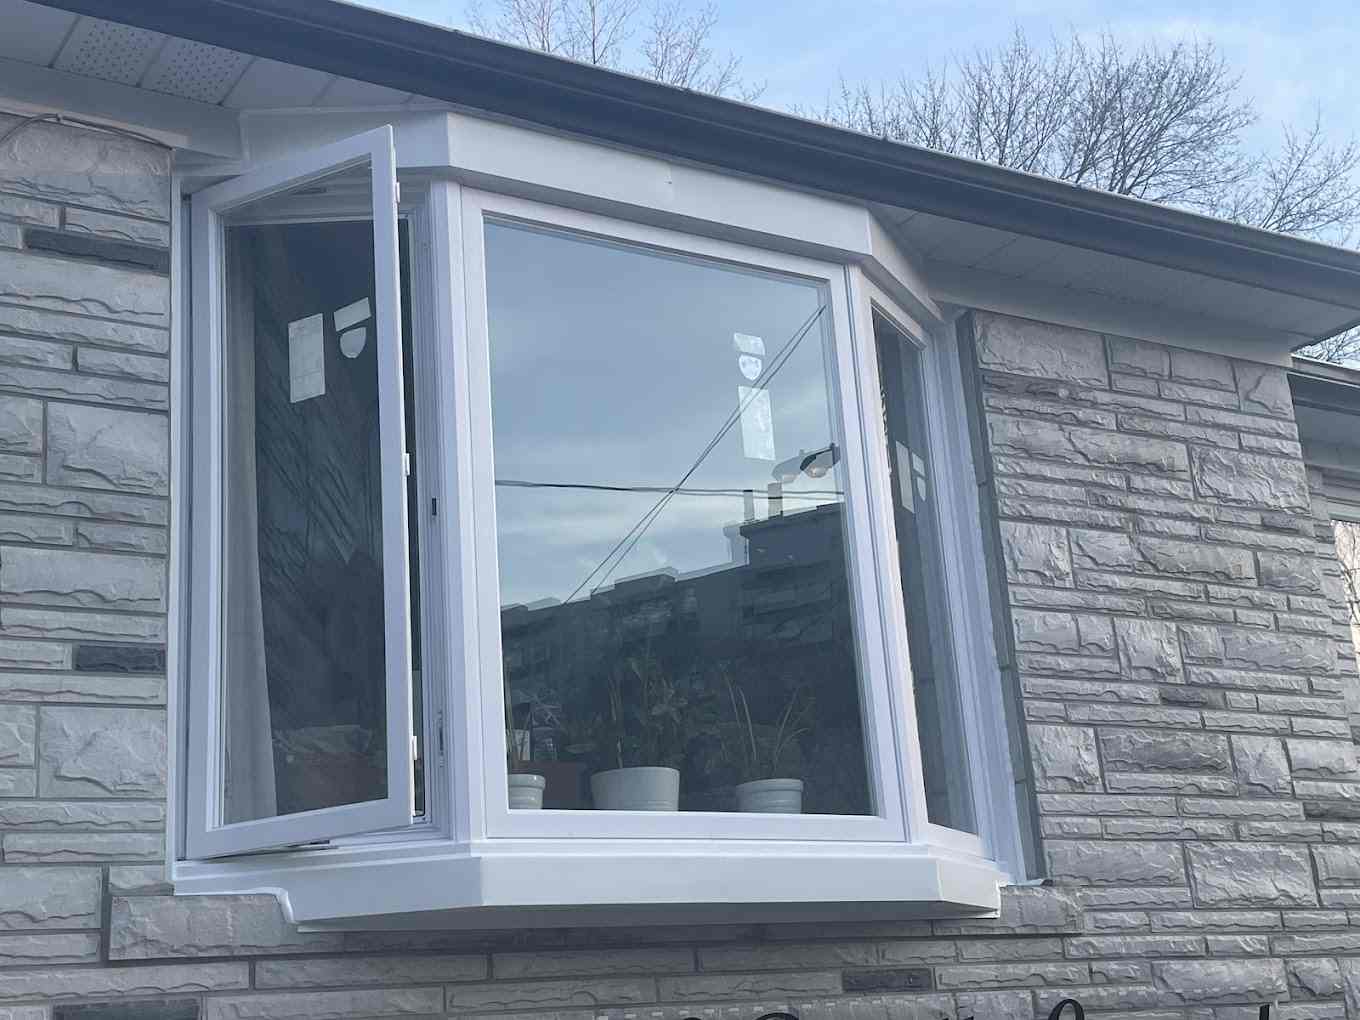
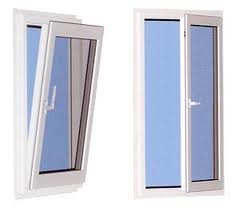
No matter what type of windows Mississauga you have: fiberglass, metal, or vinyl, you can simply replace the screen by removing the screen and seal and replacing it with a new screen. Wooden window frames are a bit more challenging, but with any type of window frame, you need only a few tools to complete the process.
The following guide will tell you how to take screens out of windows and replace them with a new screen. It is important to ensure that your screens are in good shape to prevent insects from entering your home.
Tools & Materials Needed to Replace a Window Screen
- New Window Screen
- Small Flathead Screwdriver (or Nail Punch)
- Scissors
- Tape or Small Clamps
- Utility Knife
- Spline (Plastic cording)
- Rolling spline tool
How to Replace a Window Screen
Step 1: Removal of the Damaged Window Screen
The window screen is kept in place with a spline or plastic cord that goes around the perimeter of the window frame. Using a small Flathead screwdriver, nail punch or other sharp objects, carefully lift the spline out of the channel. Remove and discard the spline along with the damaged screen. Clean the window frame if needed.
Step 2: Size the New Window Screen
Roll out enough of the screen material to cover the window frame in its entirety. To do so, place it on a flat surface. Cut the screen to size, leaving a two-inch border around the perimeter.
Step 3: Position the New Window Screen in Place
Making sure the new screen overlaps the metal on all sides of the window, lay the newly cut screen over the window frame. As it was rolled when you purchased it, it is best to put it in with the curved side done as this will keep it from curling back up. Pull the screen, making sure it is taut, and clamp or tape it to the window frame and the top and bottom.
Step 4: Put in the New Spline
Use the convex reel of the spline rolling tool to insert the window screen in the frame channel. Start at one side and work your way around till it is taut all the way around. Do it by using the concave side of the spline rolling tool to insert the screen into the plastic spline. Once this is complete, trim any excess material using a utility knife. Finally, install the replacement screen into the window.
That’s all there is to it! Now you will have a brand new window screen to protect your home from bugs while providing fresh air!
Contact Direct Pro Windows and Doors if you have any questions on how to replace a window screen or for any other concerns you may have regarding window repair or replacement.